
How to Draw Anime Face in 3/4 View
Learn how to draw the anime face in three-quarter view. Master the shifted centerline, foreshortened far eye, and perspective-aware jaw construction.
Introduction
The three-quarter view is the workhorse angle of manga and anime illustration. It shows more of the character’s face than a pure profile while staying more dynamic than a flat front view, which is why it appears in panels, key art, and character sheets more than any other angle. It is also the angle where most beginners lose the face: the symmetry you relied on in the front view is gone, and every feature has to be placed in perspective.
The good news is that the same circle-method construction from the front view still applies. You are just breaking the symmetry on purpose. This tutorial shows you exactly which lines shift, which features foreshorten, and how to keep the face reading correctly at 3/4.
What You’ll Learn
- How to shift the vertical centerline for a 3/4 turn
- Why the far eye narrows and how much to compress it
- Where the nose bridge and far eyebrow sit in perspective
- How the jaw and chin curve around the turn
- How to adapt any expression to the 3/4 angle
Step 1: The Head Circle, Turned
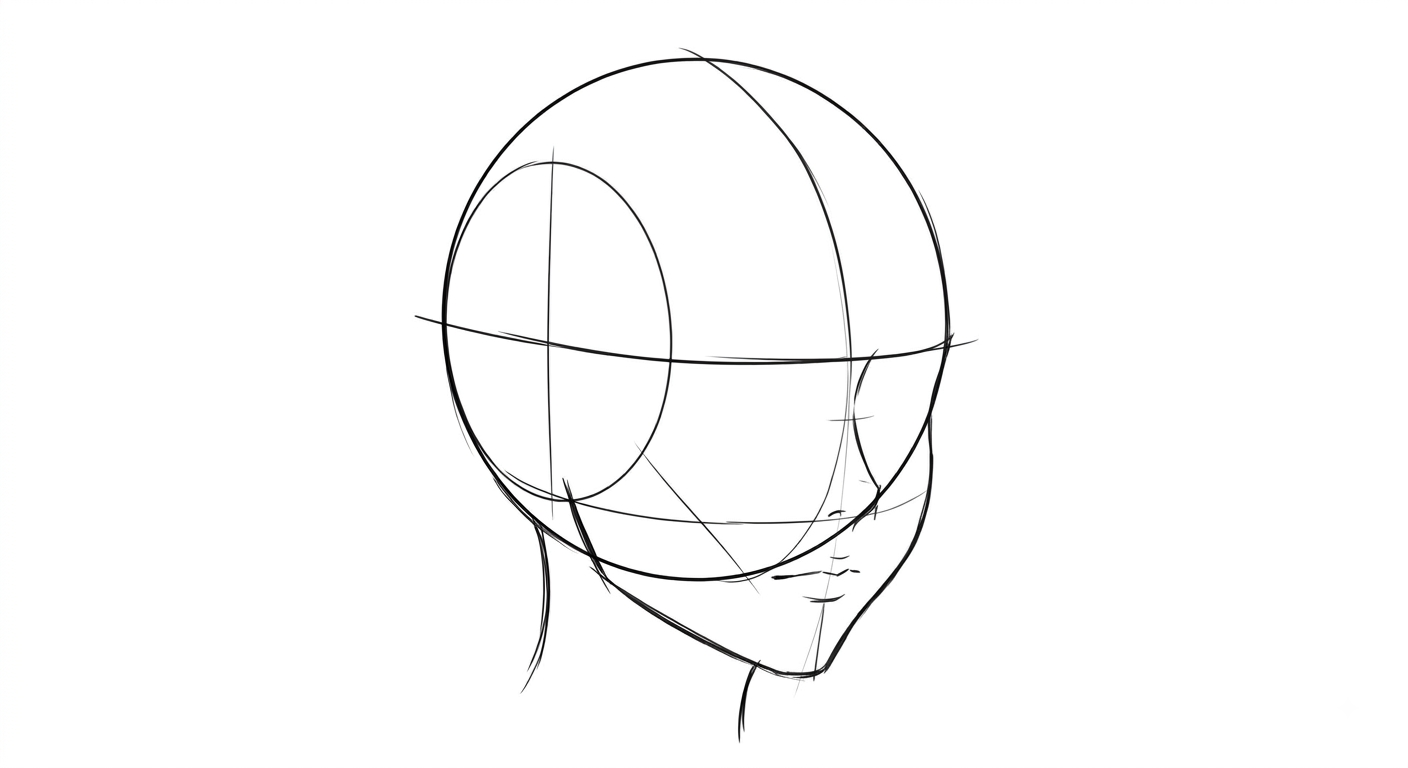
Draw the same cranium circle you would for a front view. The circle itself does not change shape; turning the head simply moves features across its surface. What changes is that the vertical symmetry line now becomes a curved meridian that bows toward the far side of the face.
Lightly sketch the circle and a horizontal eye-line across its exact vertical center. Then draw a vertical curve from the top of the skull down through the center of the eye-line, arcing toward whichever side the character faces away from. That curve is your new symmetry guide.
Step 2: Shift the Centerline
The biggest error beginners make at 3/4 is keeping the centerline perfectly vertical. It should not be.
At a 3/4 turn, the centerline curves so that it lands closer to the far edge of the face. A useful rule of thumb: the center of the face now sits about one third of the way in from the far side of the circle. Everything — the nose, the mouth, the chin — aligns to this shifted line, not to the middle of the page.
Tip: Place a fingertip over the front-view centerline in your mind and mentally rotate it around the eye-line. The curve should bulge toward the far cheek.
Step 3: Draw the Near Eye First
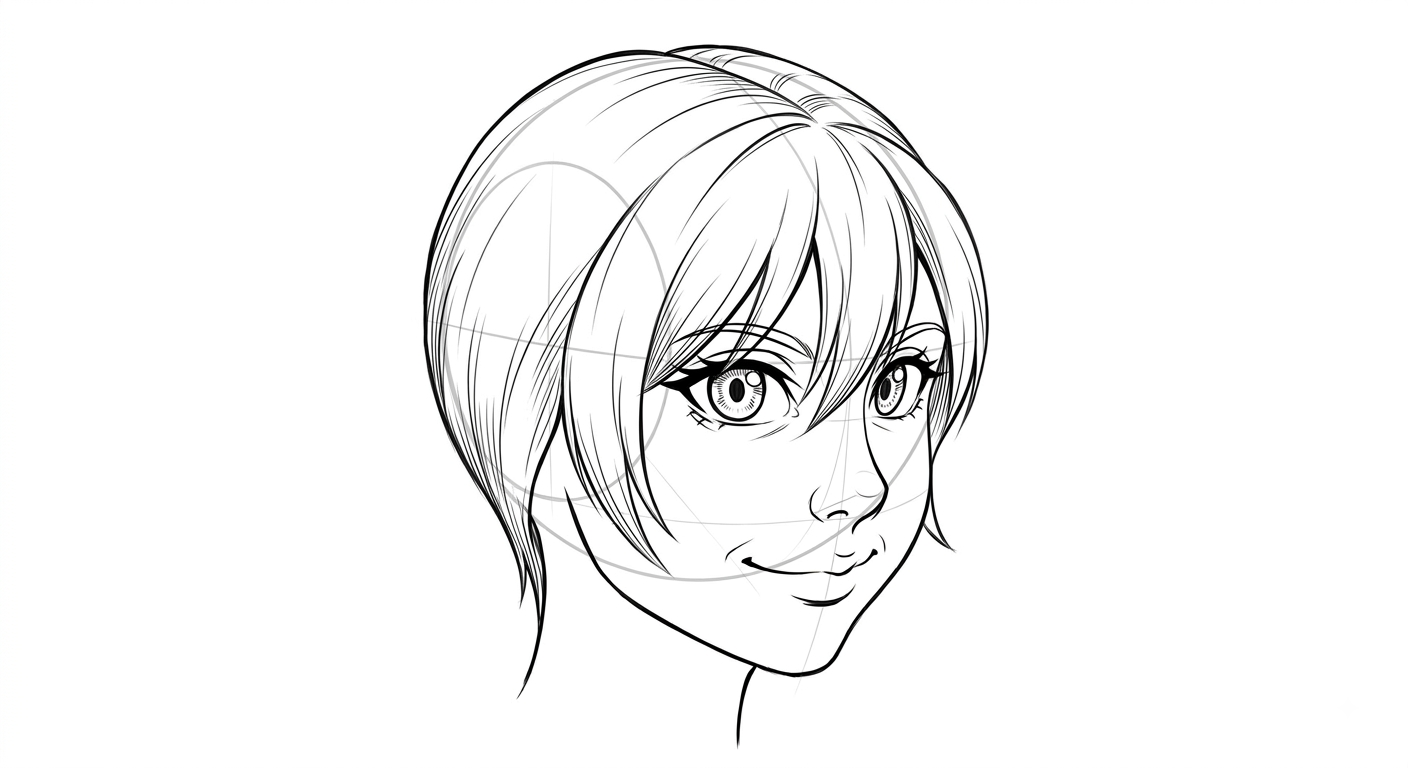
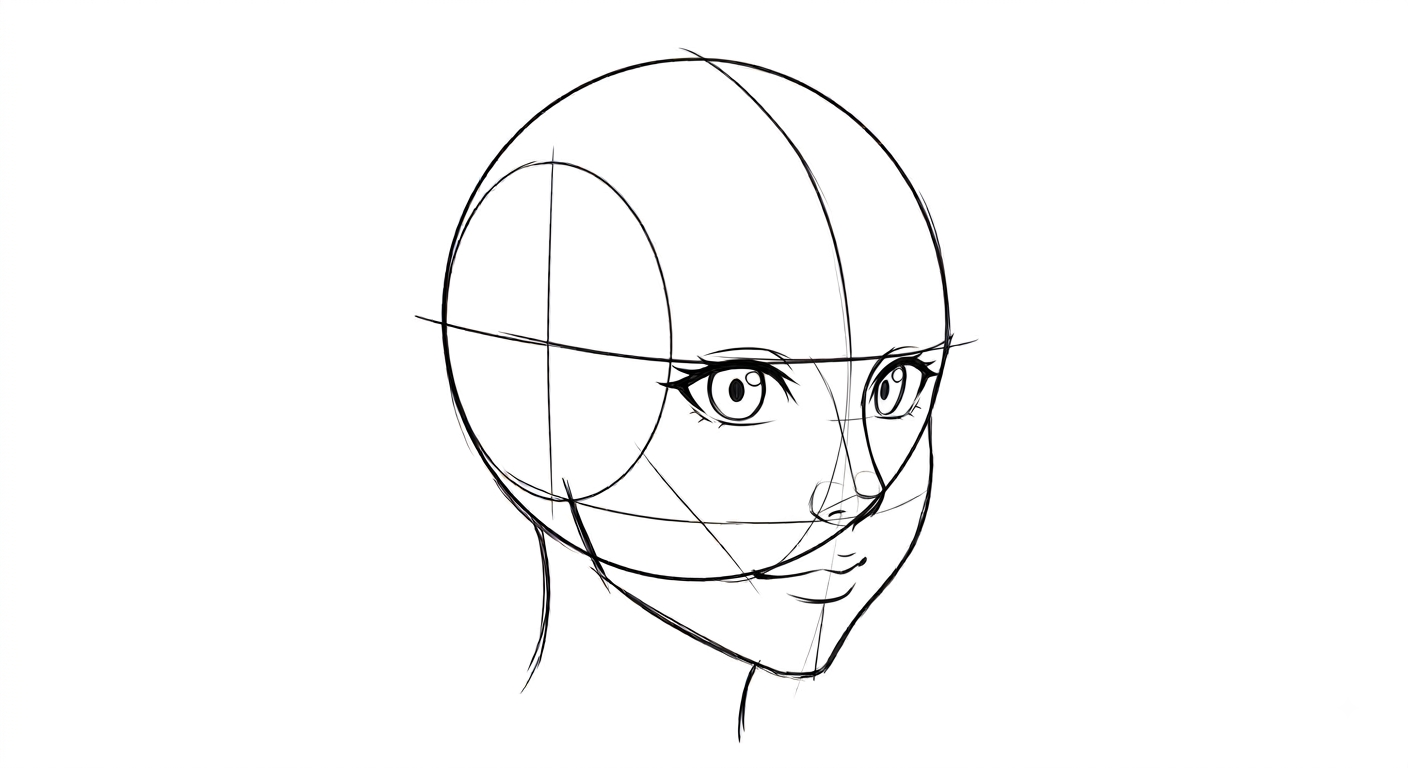
Draw the near eye almost as wide as you would in a front view. Because it faces the viewer, it keeps its full almond shape. Draw it sitting on the eye-line, anchored against the near edge of the shifted centerline.
The far eye is where perspective shows up. It should be drawn noticeably narrower — about two-thirds to three-quarters of the near eye’s width — and tucked slightly higher or lower on the eye-line depending on the head tilt. In most neutral poses it sits level with the near eye but compressed.
Step 4: Place the Nose Bridge
In the front view, the nose is a tiny mark on the centerline. At 3/4 it becomes the most important structural element on the face because it now overlaps the far eye socket.
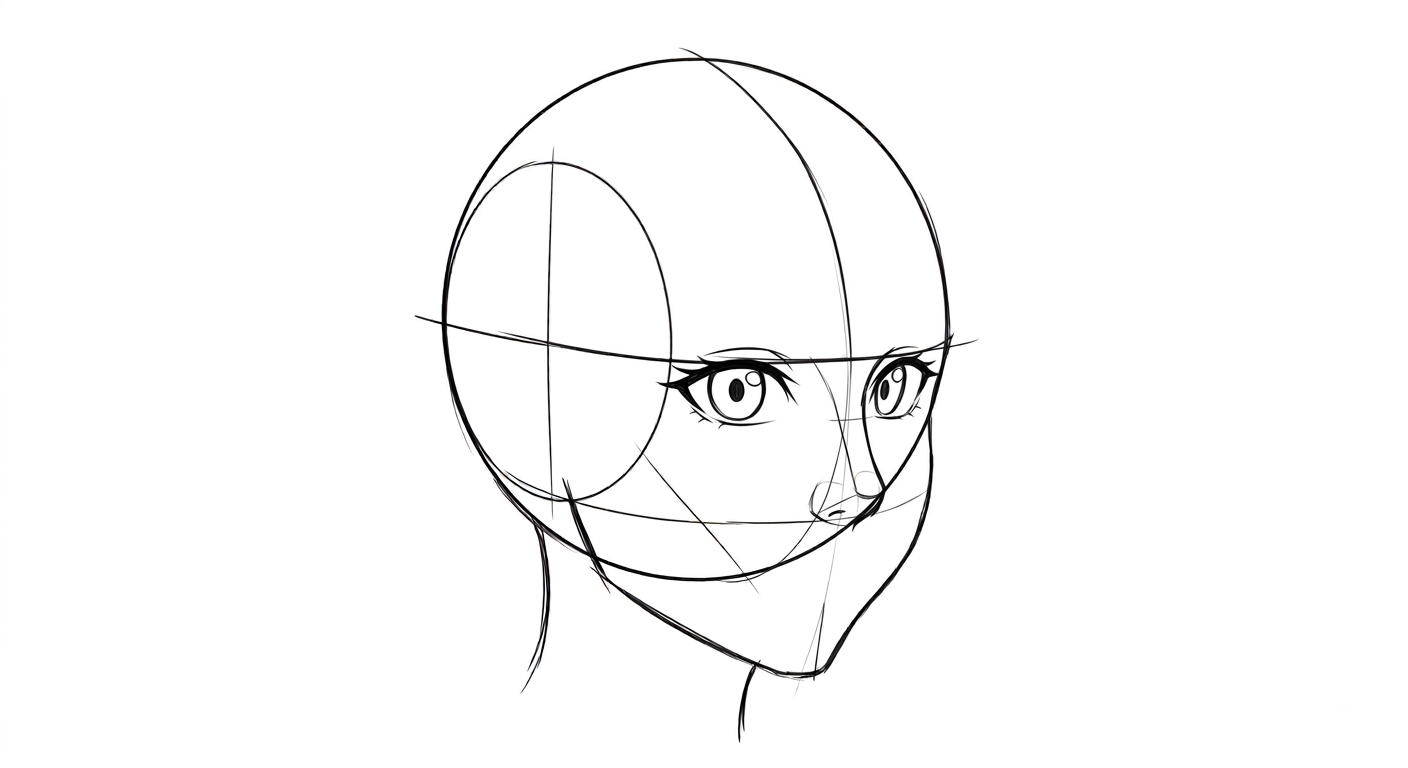
Place the base of the nose on the shifted centerline, roughly halfway between the eye-line and the chin. The bridge itself — the line running from between the brows down to the nose tip — cuts across the face toward the near side. Let it pass slightly in front of the far eye; this overlap is what sells the turn.
Step 5: Draw the Mouth Off-Center
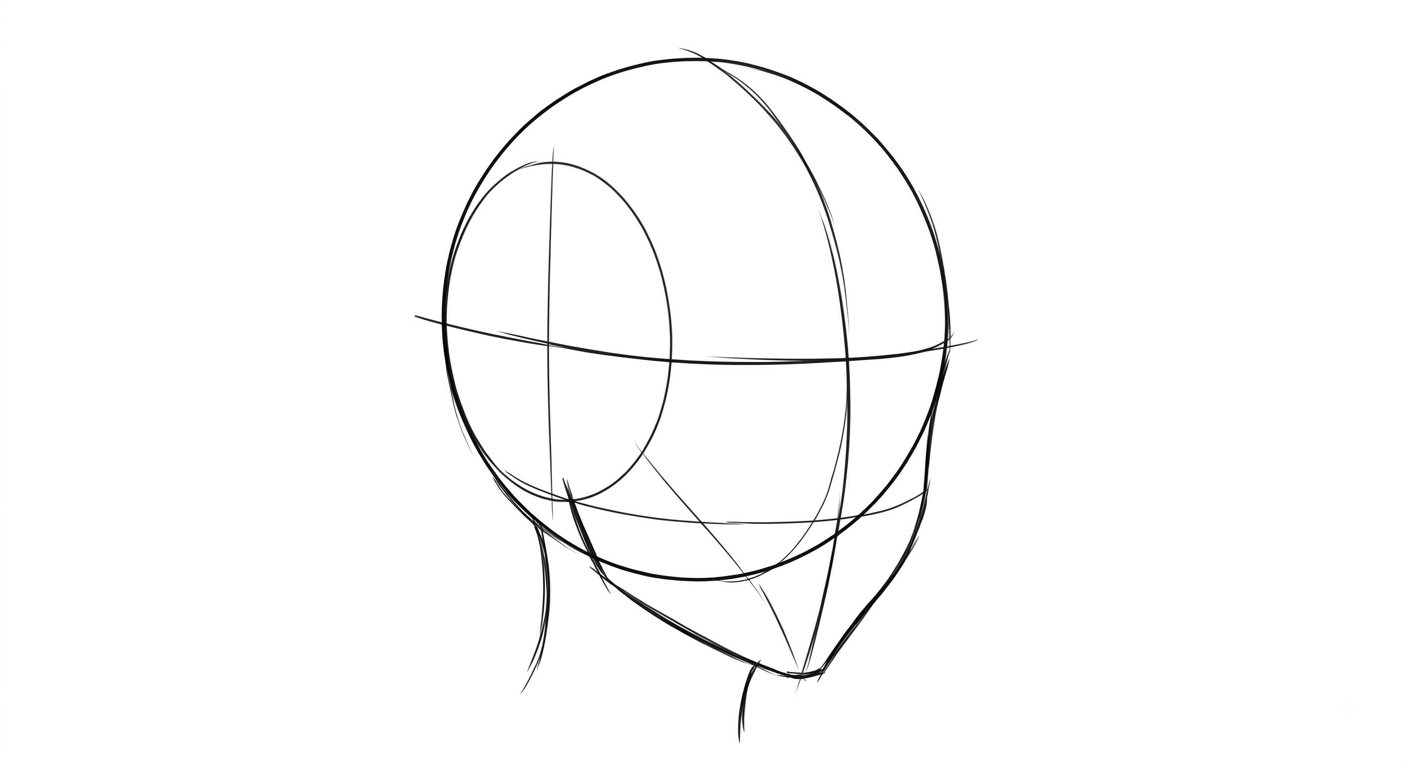
The mouth should not sit on the page’s centerline. Place it on the shifted centerline, offset toward the near side of the face.
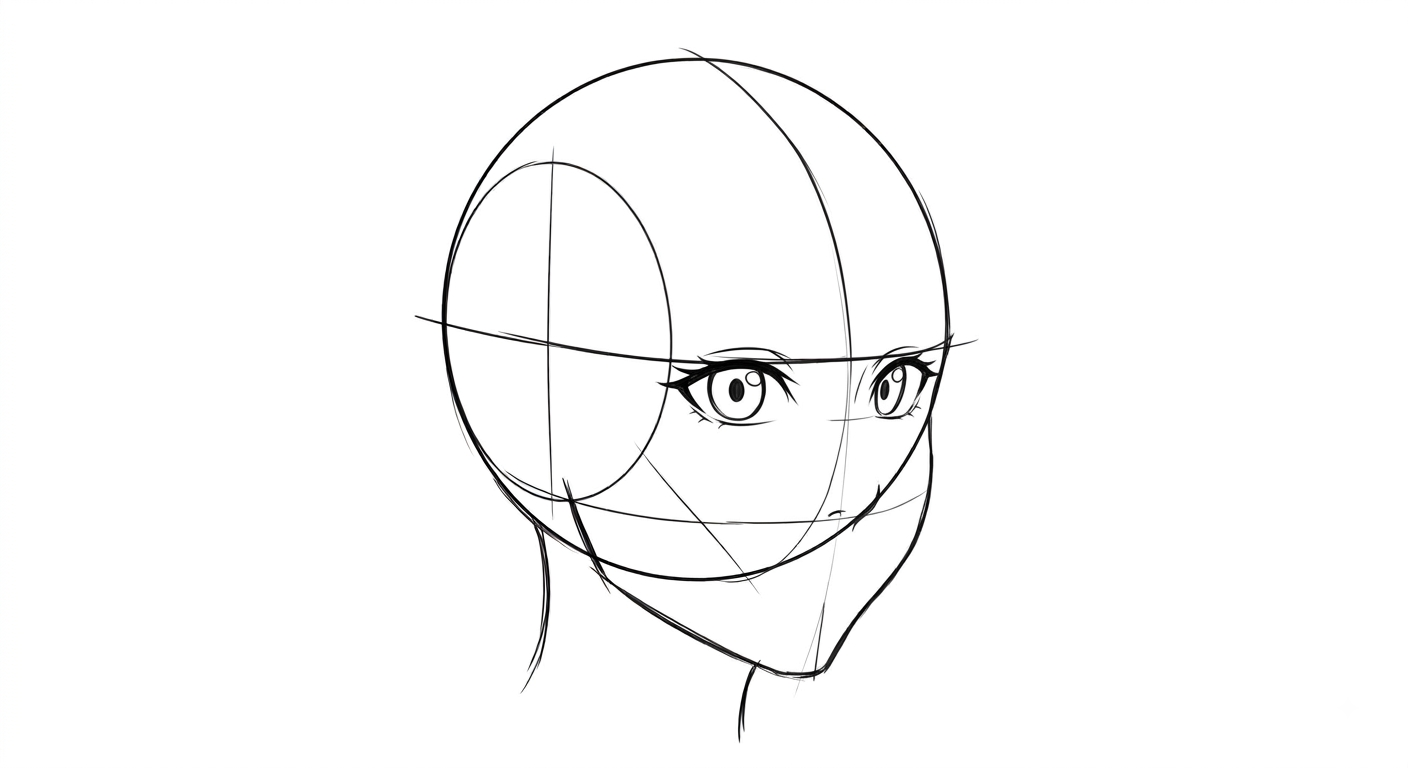
A straight horizontal mouth line will look wrong at 3/4. The mouth should follow the curvature of the face: the near corner of the mouth sits slightly lower, and the mouth line reads as a shallow curve that wraps around the cylinder of the head. The same applies to a smile — the upturn is stronger on the near side.
Step 6: Shape the Jaw and Chin
From the circle, draw the jaw sweeping down on both sides. The near-side jawline is longer and more visible, running from the ear area down to the chin. The far-side jawline tucks behind the profile line and is mostly hidden.
The chin itself is no longer a centered point. It is a small rounded shape anchored on the shifted centerline, sitting slightly closer to the near side of the page. For male characters, keep the near jawline more angular; for female characters, let it taper gently.
Step 7: Add the Hair
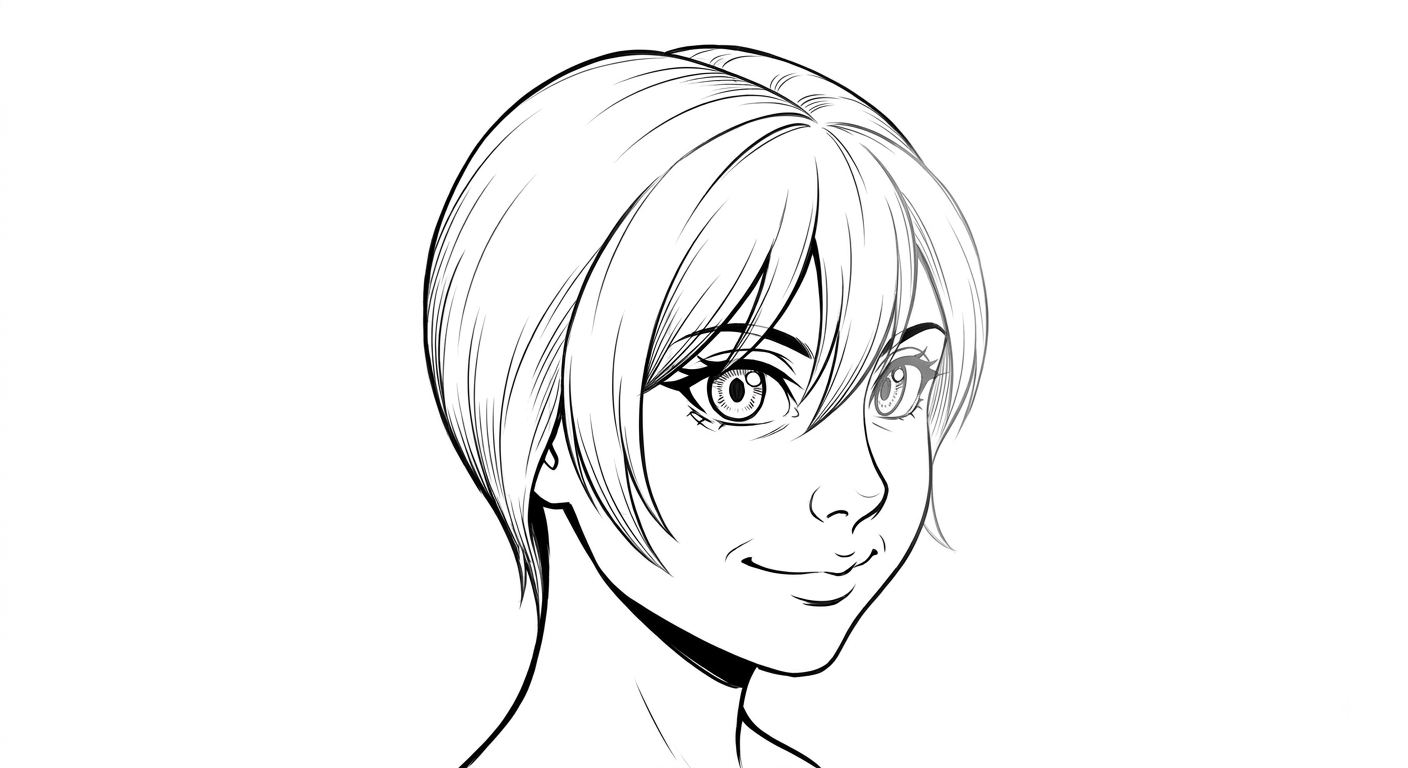
Hair volume at 3/4 follows the turned skull, not the front-view silhouette. The part line, if there is one, needs to wrap around the forehead in perspective. The side of the hair on the far side compresses toward the profile, while the near-side fringe stays wider and can overlap the near eye.
A common mistake is drawing both sides of the hair identical. At 3/4 the far-side volume is thinner; use it to suggest the turn of the head rather than echoing the near side.
Step 8: Clean Up and Refine
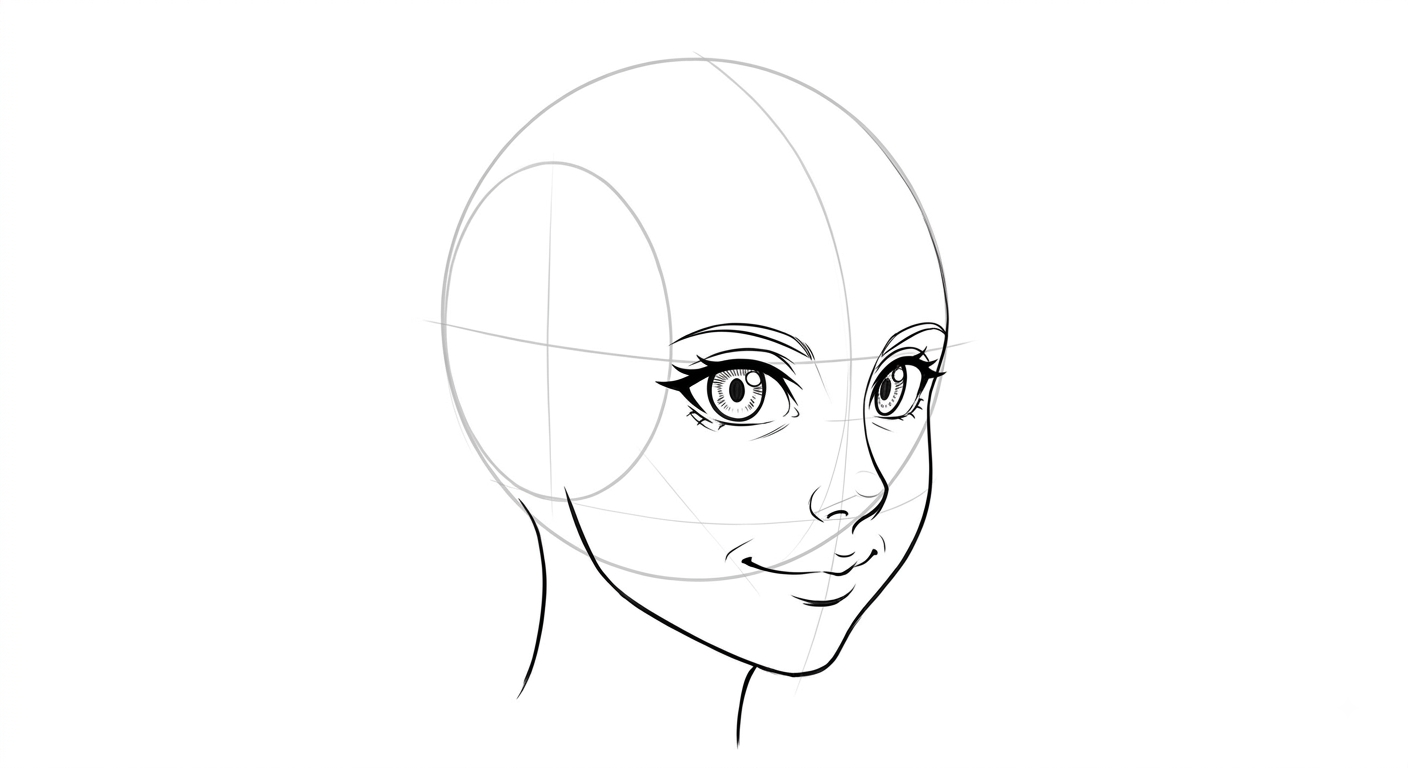
Erase the construction curves, darken the final lines, and strengthen the near-side line weight. Because the near side is closer to the viewer, its contours should be slightly bolder than the far side. Keep the far eye, far jaw, and far-side hair lighter in line weight to reinforce the perspective.
Common Mistakes
- Vertical centerline left straight — always curve it toward the far side.
- Far eye drawn full width — compress it to two-thirds of the near eye.
- Mouth on the page center — shift it toward the near side.
- Both jawlines visible — the far jaw should tuck behind the profile.
- Hair symmetrical — the far-side volume is thinner at 3/4.
Practice Advice
Draw the 3/4 construction without features ten times, then add features using our reference library’s three-quarter section. Study the far eye compression on each reference and copy it deliberately. Finally, draw the same head turning further toward profile to feel how the features compress continuously as the angle changes.