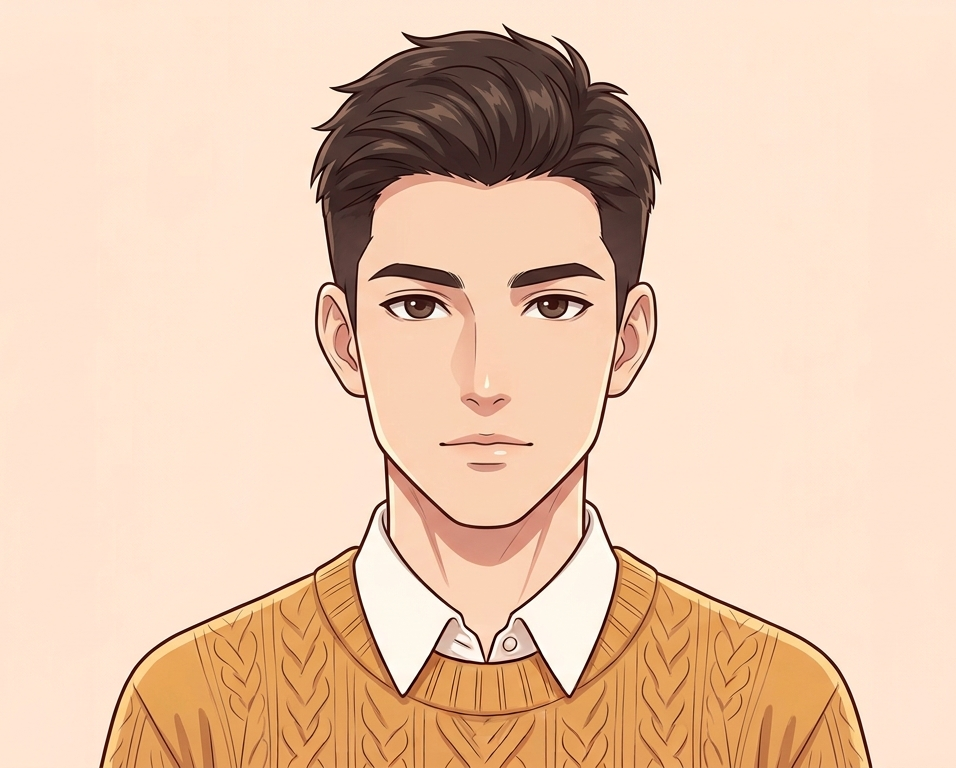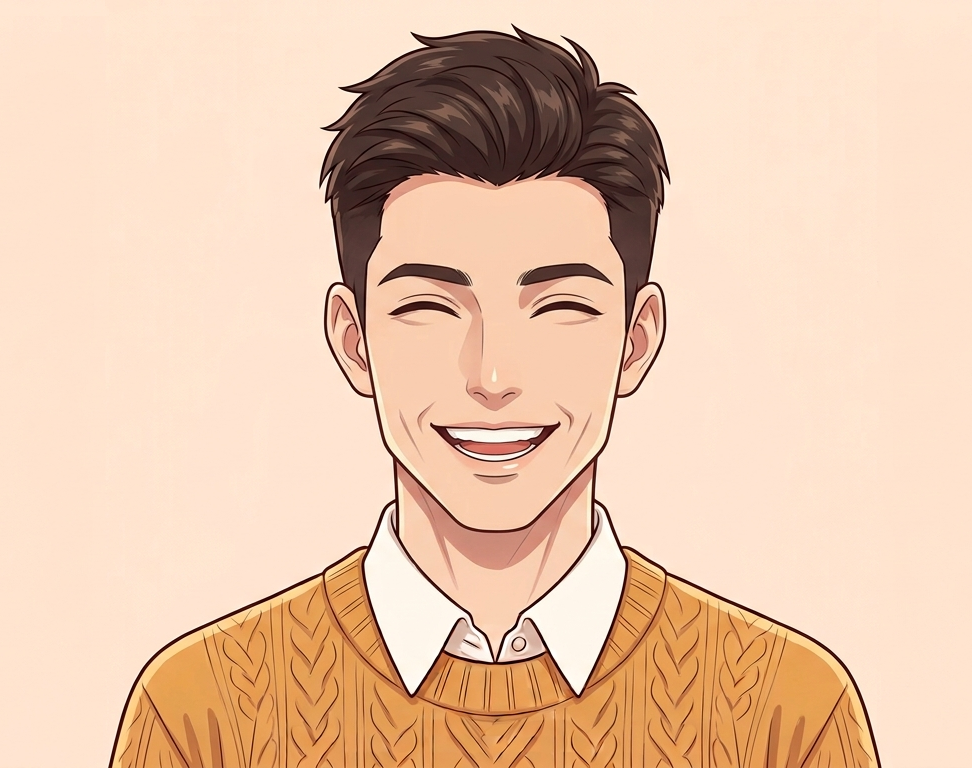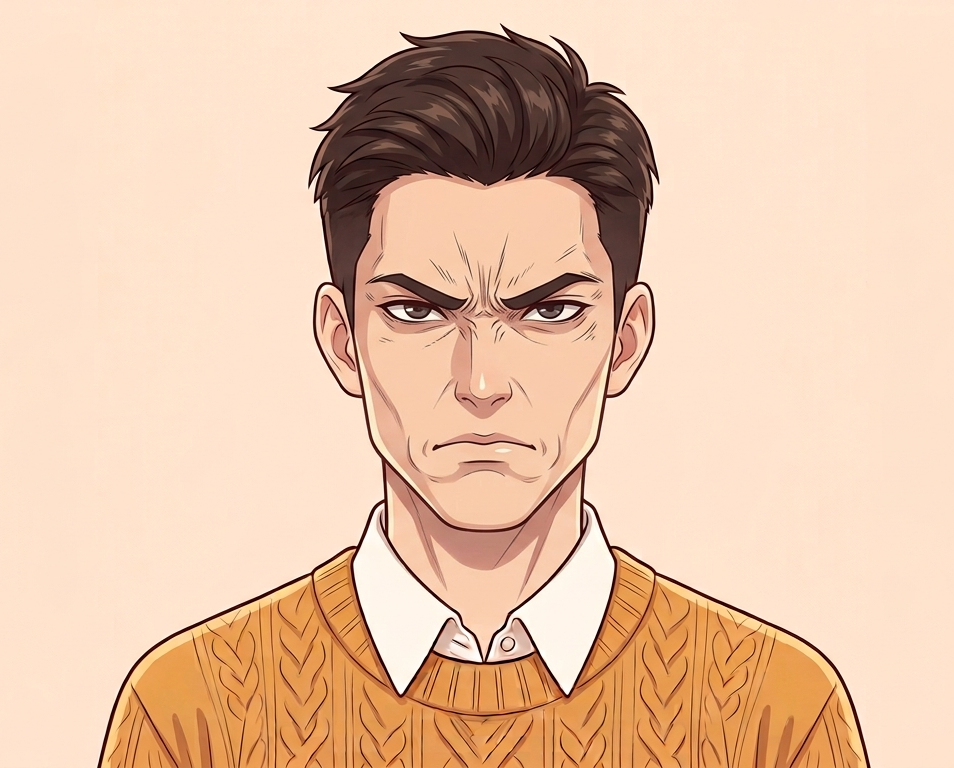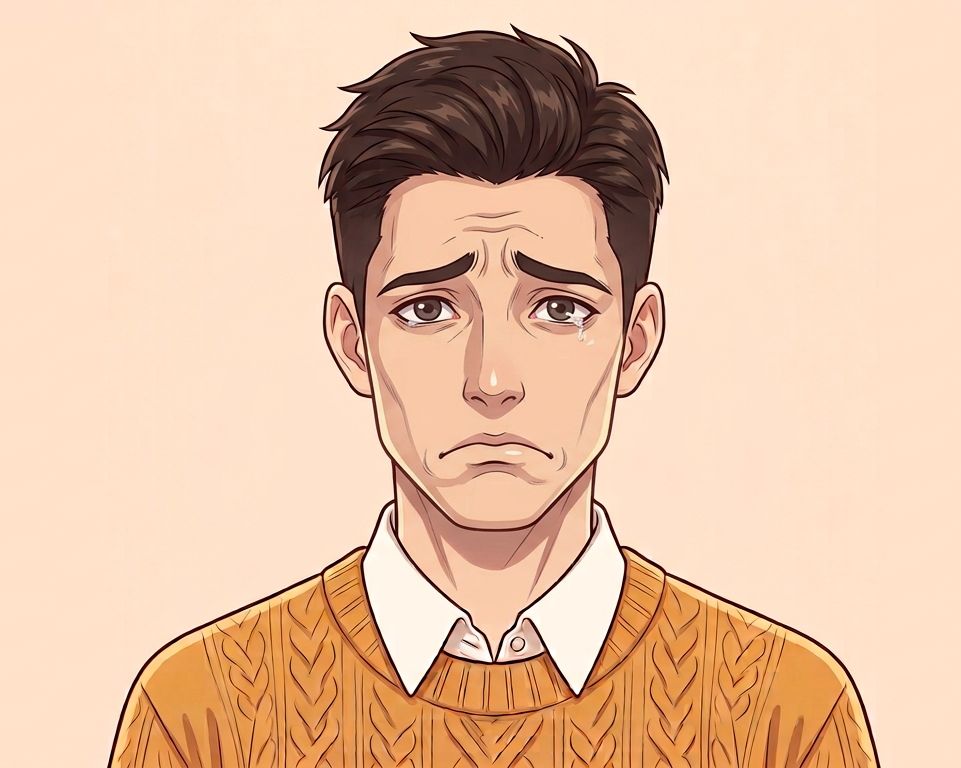
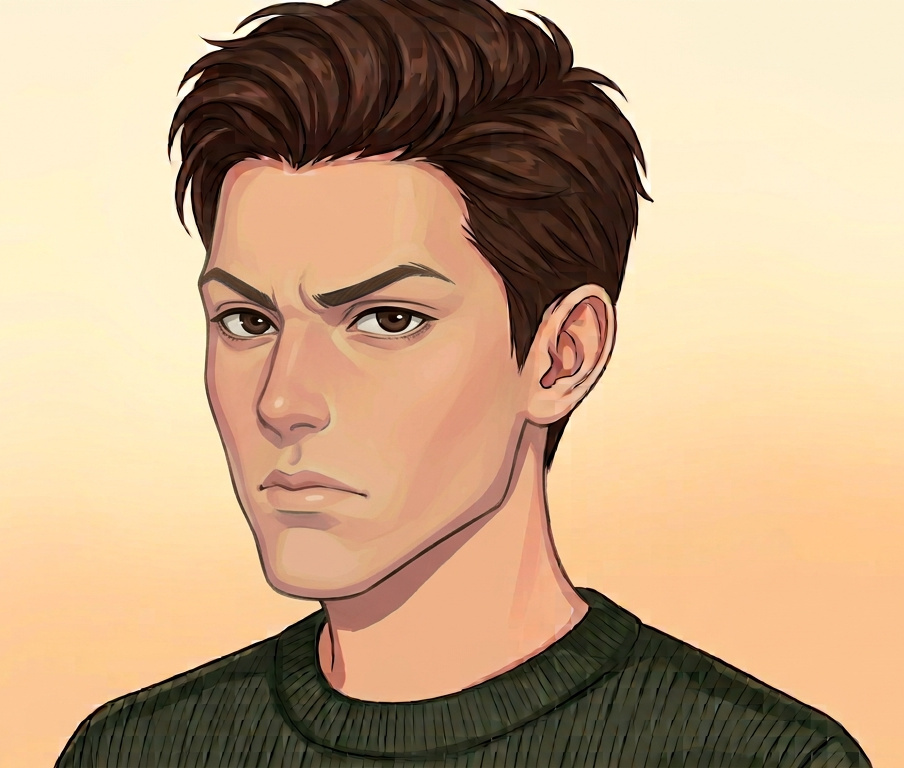
Male · 3/4 · Confused
Three-quarter view of a male anime face blushing confused.
Practice Advice
Study the alignment of features and angle of construction lines. Use our interactive practice tools to draw timed sketches of this pose.
How to Draw a Male Anime Face (Three-Quarter View, Confused Expression)
This reference shows a male anime face in three-quarter view with a confused expression. Use it as a drawing study: first work through the construction, then apply the expression, then refine with the practice plan below.
About This Reference
Three-quarter view of a male anime face blushing confused.
1. Construct the Three-Quarter View
At a three-quarter turn the head is still anchored by one circle, but the symmetry is broken. Shift the vertical centerline toward the far edge of the face: features on the near side stay wide, while features on the far side compress toward the profile. The far eye narrows and tucks behind the nose bridge, while the near eye keeps almost its full width. The jaw sweeps from the cheek down to a chin point that sits closer to the center of the page.
- The far eye appears noticeably narrower than the near eye.
- The bridge of the nose overlaps the far eye socket.
- The far edge of the jaw tucks behind the profile line.
- The mouth shifts toward the near side of the centerline.
2. Anatomy Notes for a Male Face
Male anime faces read through structure. The jaw is broader and more angular, the chin stronger, and the brow ridge more defined. The eyes are narrower and sit slightly higher on the head construction, the nose is sharper with a defined bridge, and the neck is thicker. Use firmer, straighter lines for the jaw and neck to sell the masculine silhouette.
3. Breaking Down the Confused Expression
Confusion combines asymmetry with a quirk. One brow rises while the other stays level or dips, the eyes squint or glance sideways, and the mouth twists to one side or opens slightly. A tilted head adds to the effect. The uneven eyebrows are the fastest way to make the emotion read instantly.
- Brows: one raised high, the other level or lowered.
- Eyes: squinting or glancing to one side.
- Mouth: twisted to one side or slightly open.
- Head: often tilted for extra confusion.
4. What to Watch for in This Reference
In a 3/4 reference, the most important thing to study is how the far-side features compress. Notice how much narrower the far eye is compared to the near eye, and how the nose bridge overlaps the far eye socket. These two overlaps are what make the 3/4 turn readable — without them the face reads as flat.
Confused expressions are the only ones where asymmetry is the point. Study how one brow is raised while the other is flat or lowered — this mismatch is what signals confusion. The eyes often glance to one side, and the mouth twists in the same direction as the gaze.
5. Common Mistakes at This Angle
The most common error at 3/4 is keeping the centerline perfectly vertical or drawing both eyes at full width. The far eye should compress to about two-thirds of the near eye, and the centerline should curve toward the far side.
Making both brows uneven in a symmetrical way. Confusion requires one brow raised and one flat — not both brows tilted in opposite directions. The asymmetry should feel accidental, not designed.
Quick practice plan
- Draw the head construction only (no features) 3 times at this angle, focusing on the guidelines.
- Add the confused expression on top, copying the feature positions from this reference.
- Check your work against the common mistakes list above and fix any issues.
- Repeat with the reference flipped or mirrored to break dependency on the original.
- Time yourself with a 5-minute timer and sketch the pose from memory.